When you compose a post in your MyCouncillor blog, clicking on the image button allows you to put in a URL link to a photo that’s somewhere else on the Internet.
That’s fine if you’ve got your photos on an online service like flickr or picasa, or if you’re linking to a picture you’ve found (e.g. through Google Images). If you want to add a photo that’s on your own computer, it’s less good.
MyCouncillor offers a way to add photos from your hard drive but it doesn’t work in quite the way a lot of people expect it to. You add a photo to an online album, maintained by MyCouncillor, and then add it into your blog post, as a full image, a thumbnail (linking to the full picture) or a text link.1. Resizing your photo
The size of your photo is important, and if you’ve taken it with a modern digital camera, it’s probably too big. Any graphics package can be used to resize an image, or you could use a website like this one.
Where you want the full photo to appear in your blog post, it should be no wider than 550 pixels. Where you want a thumbnail to link to the full photo, it should be no wider than 800 pixels.2. Write a new blog post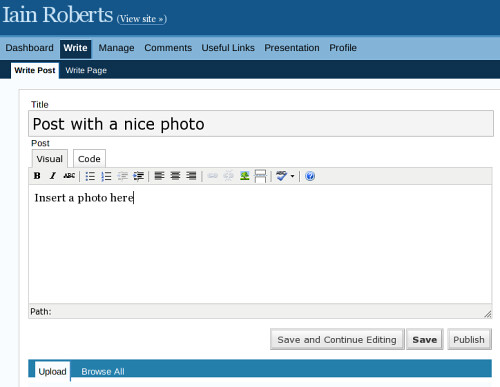
Log onto your MyCouncillor site write a new blog post as normal.3. Move down to Upload File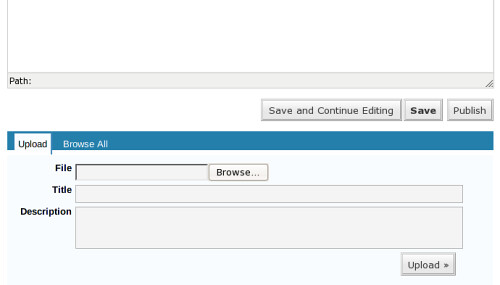
Immediately below the area where you write your blog posts is a section of the page allowing you to upload images to your MyCouncillor album. You’re going to upload one picture and insert it directly into your blog post.
4. Select the file you want on your blog post
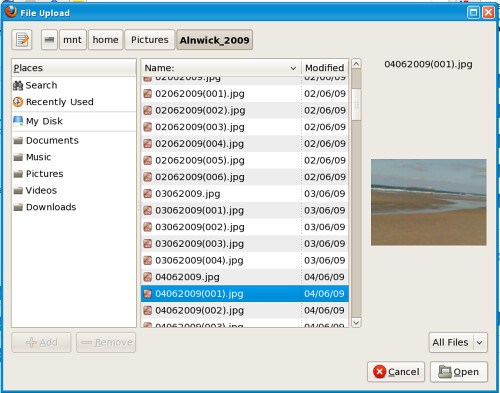
The dialog box will look different depending on your operating system, but you get the general idea. Select a file to upload it.5. Give it a title
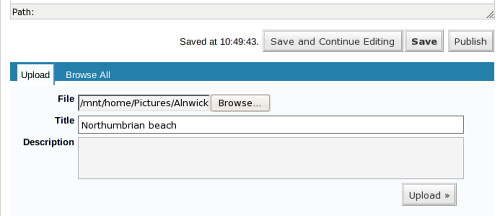
Add a title to identify your picture. Optionally, you can add a description too.
6. Insert the picture into your blog post
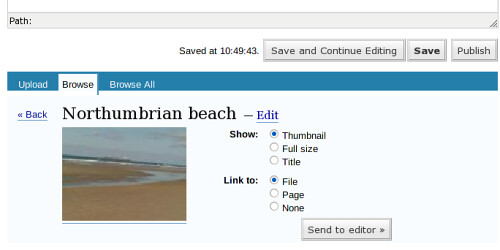
Select how you want the picture to appear on your blog: a thumbnail (small version), the full photo or just the title. Then select whether you want it to link to a full version. If it’s a thumbnail, you’ll normally want to link to the file.
Click on “Send to editor” and the picture, thumbnail or title appear in your blog post.
7. Edit the placement in the blog post
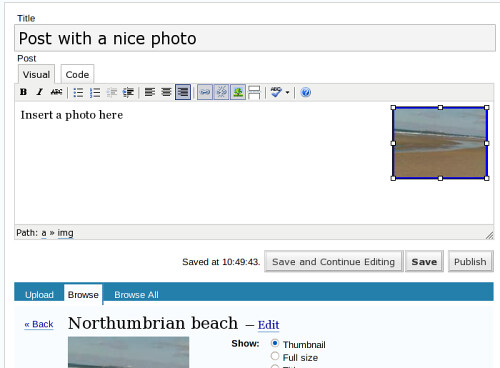
Once the photo’s placed in your blog, you can change where it appears. In the screenshot, I’ve clicked on the thumbnail to select it (notice the small squares around the edge) and clicked on the right-align button to move it across.
Last edited by Iain Roberts, 30th November 2009.